
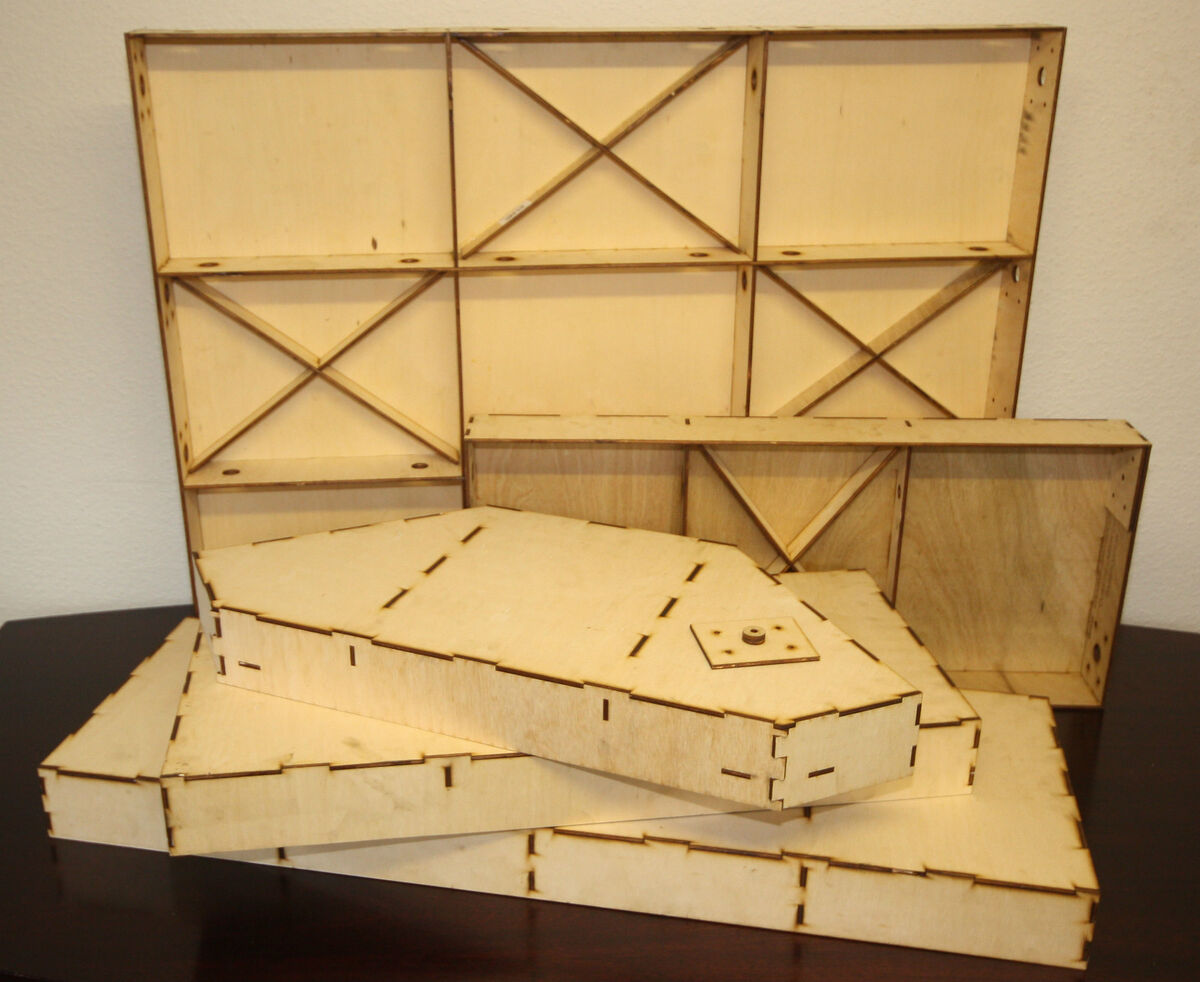
For my baseboards I very quickly, based on my past attempts, decided that prebuilt was the way to go. While I can and have built successful baseboards in the past, the level of precision that I need to have in order to make sure that all of the parts snap together perfectly every time is not something I have ever been able to do. I also have a habit of overbuilding them to make them strong, resulting in a very very heavy baseboard, my first one that was meant to be extremely modular weighed a tonne before I’d even laid any track, let alone the scenics!

I did a bit of research and decided on Grainge & Hodder as my baseboard supplier of choice. There is a few reasons why, I wanted to make sure I had future proofed myself, meaning while there was alot of other options out there I felt confident I had picked one that was we known enough that it would always be around, to make sure in the future I would always be able to get extra boards when needed. Also they have quite a large range of accessories to choose from for the boards along with the ability to custom order boards.
Board Standards
In order to keep a consistent design throughout the layout I have set myself a few “Standards” to live by when making each board.
Firstly the size, the standard board will be 1200mm x 600mm, this is about the largest size that I will be able to get in and out of my storage space, that being my loft. This should hopefully give me enough space either side of the 2 track mainline that I can add plenty off scenics around the centre track.
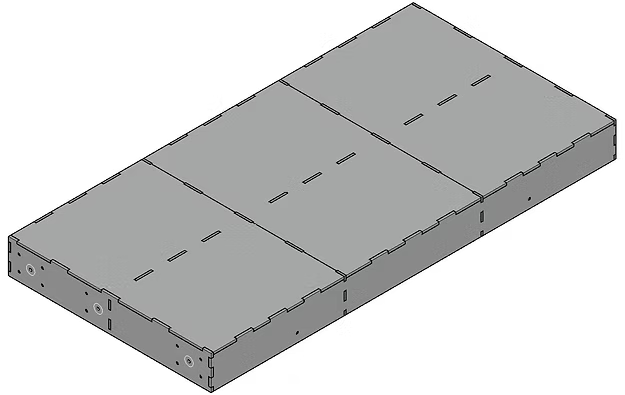
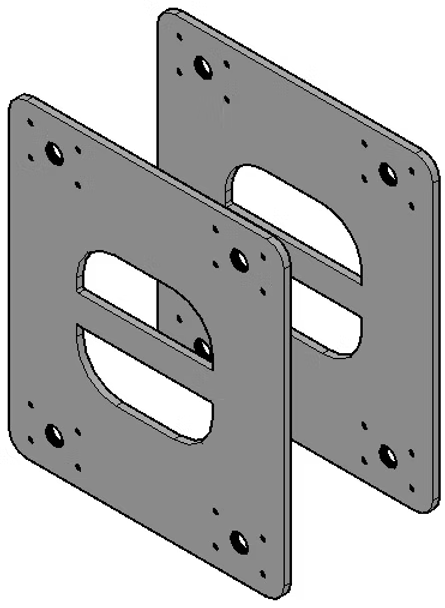
These boards including Grainge and Hodders signature connection points at either end enables me to make the most of their carry handles. These are designed to store 2 Boards together by having one upside down on the other, clipped together with these end plate handles.
Each board will have its backscene in a way that it should fully enclose the baseboards when they are away, protecting them from most storage and transportation damage.
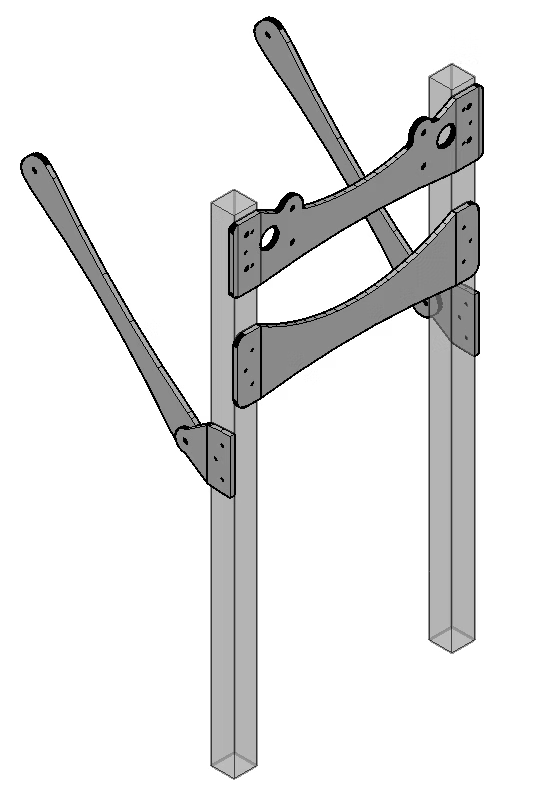
Finally the legs, each board will be fitted with 2 sets of legs so they can each stand alone by themselves.
I am unsure as of yet how these will be attached, ideally they would be on a hinge and be lockable in place but if i don’t think I can hinge them in a secure way id rather them be removable and sturdy.
The sets from Grainge and Hodder include the darker parts shown in the picture and allows me to get my own uprights to customise the size to whatever I find the best option.
Other Modules
In the future I plan to have different types of modules such as corners, just to make the layout a bit more interesting than the single straight line. I also eventually might expand to make a branch line junction which will involve a much larger module, this however I will tackle once I get to it.
Either end of the main run will be 1 of 2 options, I’m going to either have a large fiddle yard type reverse loop at each end, however this option will be more for when I have a large layout with a longer end to end distance. The other option is simple running the lines around the back to create a large loop with a fiddle yard running along the back and operating room in the middle of the loop. Both of these options however will come after I have completed my first 3 modules.
Next up I’ll talk a little bit about my initial plans with my first few modules, which will be built 1 at a time. I will be however, planning the first 3 modules together to try and create one large scene all together with the 3 sections.