

Hello and welcome to the first instalment of my layout build. This series will be a step by step walkthrough of my forever growing model railway. These first few posts will be an overview of the whole project with what I hope to achieve over the years to come.
I have made a few failed attempts in the past to build a layout but none have got past the laying track stage.
Previous Layouts
My first N gauge layout was a small loop on a 4×2 foot piece of plywood, I still have and use this layout for running in any of my small locos as it is very similar to one of Hornby’s track plans in design, just a bit smaller and I’m sure I will share this in the future with you all.
Next came my first ‘real’ layout attempt, the plan was a small exhibition shunting layout with 2 parts that clipped together making moving easier. Upon completion of the woodwork I tried to move it inside and due to my, bigger wood is stronger and better, attitude it weighed a tonne, definitely nowhere near what I had hoped to accomplish in moveability.
Lastly, my most recent attempt that fell victim to the recent UK heatwave where all my track buckled and came off the baseboard (I now know about track spacing). This one too was the attempt that made me realise that while yes, I can build a baseboard, repeating these steps to make a repeating, identical, design is next to impossible for me.


The Idea
I love watching trains run, I love building layouts, but something I’m not as huge of a fan of is the operational side of things. So that isn’t a priority for me in this layout, a few things are though which I will discuss shortly. The basic premise of my layout will be to build something I can continually add to, be relatively inexpensive and look as realistic as possible.
I have put together a list of ‘non-negotiables’ that I am going to use when designing and building my modules to try and help me keep everything as uniform as possible.
- Use the same baseboard specifications and follow this religiously so I know they will all fit together perfectly.
- Ensure every main station platform at least 900mm long.
- Have realistic scenery for a country railway, eg. some modules may only have the track and fields.
- have a consistent 2 track mainline throughout.
- Keep modules as cheap as possible, I hope that, minus the actual baseboard construction, some of my more basic modules will cost less than £100 to make.
Modular?
I have mentioned modules a few times but this layout won’t be ‘modular’ as such. I will be building the modules one at a time, sometimes larger scenes will take up 2 or 3 boards, but they will not be interchangeable. The ends of each module will be made to only match up with their specific counterpart, this will enable me to have more realistic elevations on the scenery that will continue throughout the layout.

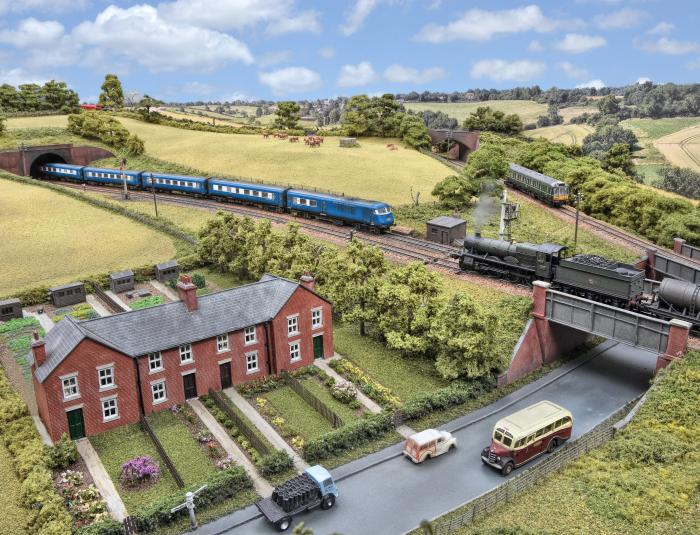
In the image above is an example of the layout boards. As you can see each board will have a specific edge to match to another board, however if I ever decide in the future to add boards in the middle of a scenic section, as long as the added section has them same edge profiles at either end of the whole section I can add as I want. This also means I can choose whether to add this section if I take the layout to a show.
In my next post I will talk about where the layout will be set and what sorts of scenery you might expect to see being build in the future.